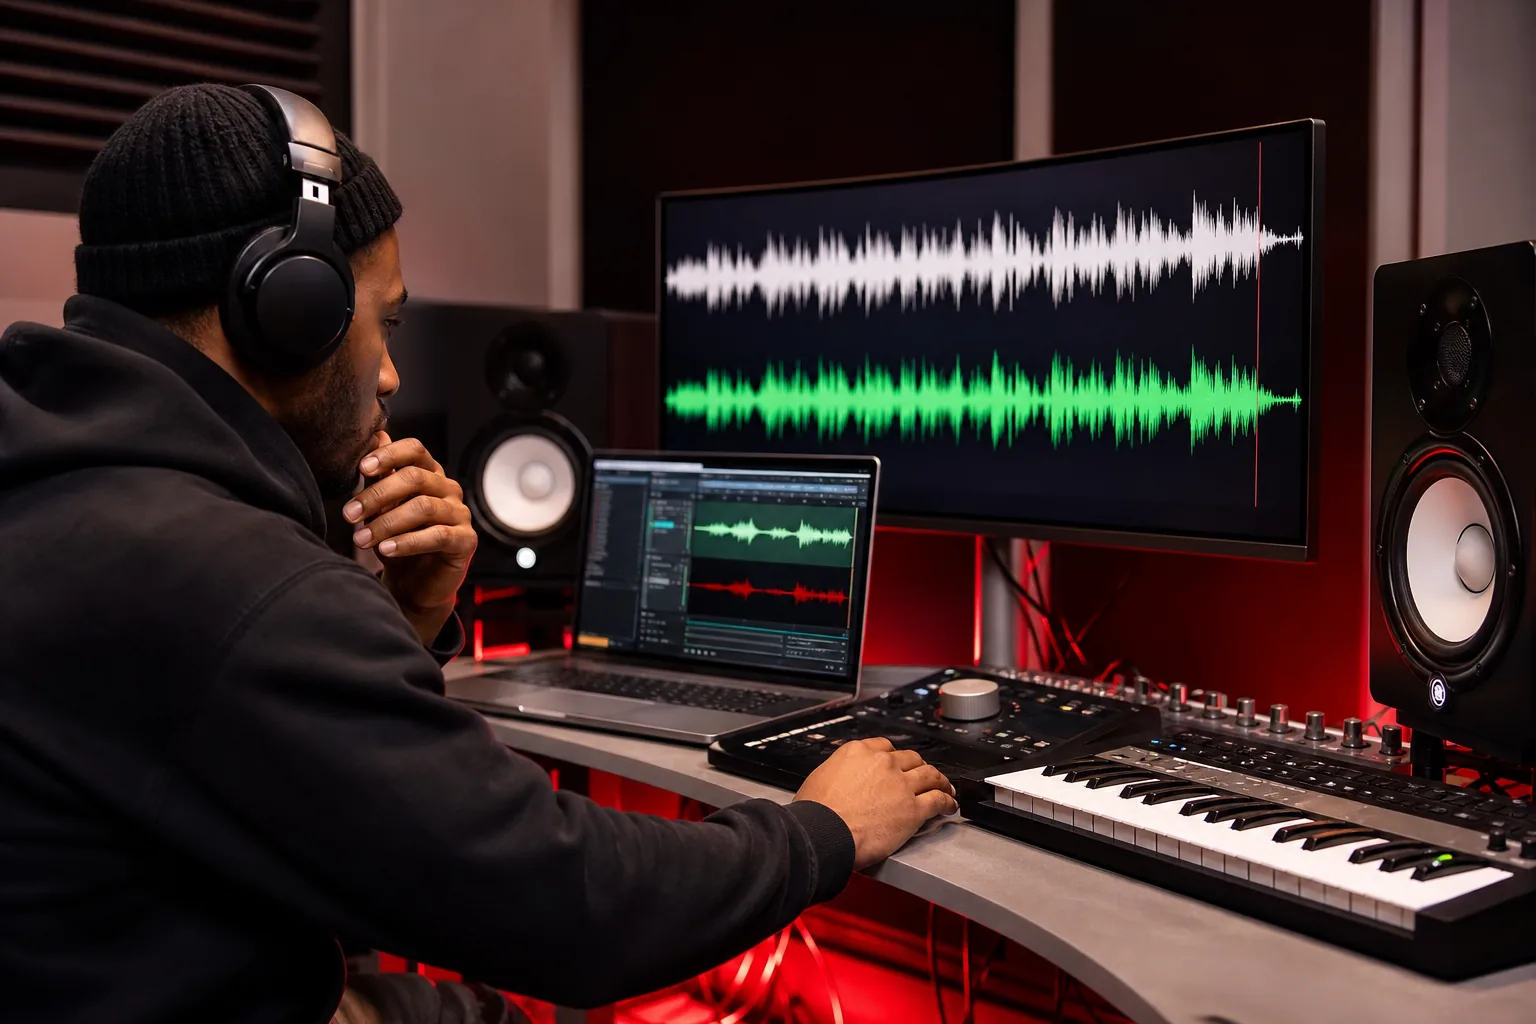
How To Remove Vocals From A Song
Need a karaoke track, a vocal practice mix, or an instrumental for your next verse? You can remove vocals from a local audio file in a few steps, though the result depends on the song's mix. I'll show you the easy online method first, then cover desktop tools, mobile apps, quality fixes, and the shortcut many artists miss: buying a beat that was instrumental from the start.
Table of Contents
Step 1: Check Your File And Your Goal
Before you remove vocals from a song, decide what you need the finished file to do. A rough karaoke mix may be fine for home practice. A release-ready instrumental needs much cleaner audio.
Use a local file that you own or have permission to edit. A song inside Spotify or Apple Music usually isn't available as a normal file for upload. A purchased or downloaded audio file is a better starting point.
MP3 is fine for a quick test. WAV is better when you plan to edit the result in a DAW. Also check the song length and file size before uploading. Free services may set limits, and large files take longer to process.
If you only need a clean instrumental for recording, compare the time spent fixing artifacts with a ready-made beat. Indepth Jay Beats gives independent artists another path, with instrumental beats made for recording rather than separated after the fact.
Pro Tip: Keep the original file untouched. Save the processed version as a new file so you can try a different method later.
Step 2: Upload The Song To An Online Vocal Remover
The fastest way to learn how to remove vocals from a song is to use a free online vocal remover. VocalRemover.org is a basic free option that works in a browser, so you don't need to install software.
Open the site, choose its browse or upload button, and select your local audio file. Do not paste a streaming link. The service needs the actual file on your computer or device.
Online tools use source separation to estimate which sounds belong to the voice and which belong to the backing track. The site then gives you separate versions. One is the music-only track, often called karaoke. The other is the isolated vocal track, also called an acapella.
Upload time depends on your connection and file size. Keep the browser tab open while the service works. Free tools can also limit daily use, track length, or output quality, so read the settings before you start.
For a first test, pick a song with a clear lead vocal and a steady mix. Busy effects, wide backing vocals, and heavy reverb make separation harder.
Step 3: Wait For The AI To Separate The Stems
Once the upload finishes, let the vocal remover process the track. This step can take less than a minute for some files or a few minutes for larger ones.
Don't close the page during processing. When the job finishes, look for two previews. Play the full mix first. Then play the music-only version at the same point in the song.
Listen for these problems:
A watery sound around the lead vocal.
Small bits of words left in the instrumental.
Missing guitar, piano, snare, or bass sounds.
Echo tails that remain after the voice drops out.
Chirps or metallic tones during loud notes.
These flaws happen because a finished song contains blended sounds. The software is estimating the source parts. It isn't reaching back into the original recording sessions to mute one clean vocal track.
Try the preview more than once. A result may sound fine in the verse but fall apart during a hook with stacked harmonies. Judge the part you plan to use, not only the first few seconds.
Step 4: Download The Instrumental And Vocal Files
After you check the preview, download the music-only track. Download the isolated vocal too if you may need it for remix work or study.
Choose WAV when you need to edit, pitch-shift, or mix the file. Choose MP3 when you need a small file for a phone, rehearsal, or quick share. Don't convert an MP3 into WAV and expect the lost detail to return. WAV will only make the file larger.
Give each file a clear name. For example:
Song-title-instrumental-test.wav
Song-title-isolated-vocal.wav
Song-title-original.mp3
Import the instrumental into your DAW and line it up with the original. Check the start point, tempo, and length. A download may include a short gap or a different file start, which can throw off a vocal recording.
If the track will support a new release, keep notes about the source file and your permission to edit it. A vocal-free file is still based on someone else's recording. Removing a singer doesn't remove copyright.
Step 5: Fix The Result In A DAW
A DAW gives you more control when the online result sounds close but needs work. Import the instrumental and listen with headphones first. Then check it on speakers at a low level.
Start with a clean edit. Cut silence at the front and end. Add short fades so the file doesn't click. Keep the master level below clipping while you test changes.
You can use EQ to reduce a narrow problem area, but don't make a huge midrange cut without listening. Human voices often sit in the middle of the mix, yet guitars, keys, snares, and synths can live there too.
For a practice track, a small reduction may sound better than trying to erase every trace of the voice. If the vocal leaves a harsh echo, trim that section or use a light noise-reduction pass. Heavy processing can damage the beat more than the leftover vocal does.
Audacity includes a vocal reduction and isolation effect. Its default setting may give you a useful first pass, and you can undo the change if the result gets worse.
For advanced work, desktop tools such as iZotope RX use Music Rebalance for stem separation. Ultimate Vocal Remover can access models such as Demucs and MDX, but it needs a desktop setup and takes more time to learn.
Step 6: Try A Mobile App For Practice
A mobile app can help when you want to remove vocals from a song for rehearsal, karaoke, or ear training. Moises, available as a mobile app, separates vocals and can also adjust tempo, key, and chords.
Upload a local file through the app. Select vocal separation, then wait for the processing to finish. Use the faders to bring parts back into the mix instead of muting everything at once.
This matters when you want to practice with the bass or drums still present. You might lower the vocal while keeping enough of the original music to guide your timing.
Mobile processing can take longer than a desktop workflow. It may also produce more artifacts, especially on a phone with limited power or storage. Save your best files somewhere safe before deleting the project from the app.
Apps can also split more than vocals. Depending on the tool and file, you may get separate drum, bass, piano, or other instrument parts. That can help you study an arrangement or build a new practice mix, but it doesn't give you permission to publish the separated material.
Step 7: Use Classic Phase And Stereo Methods
Traditional audio methods can reduce vocals without an online upload. They work best when the song has a simple stereo mix.
Center-channel extraction
Lead vocals are often placed in the center of a stereo mix. A center-channel method reduces the shared center signal, which may lower the voice.
The catch is serious. Centered bass, kick drum, snare, and other instruments may drop too. Stereo reverb can also remain around the vocal, so the result may sound hollow.
Phase cancellation
Phase cancellation works when you have an identical instrumental version. Invert the phase of that instrumental, line it up with the full mix, then combine both files. Shared elements can cancel, leaving the parts that differ.
This method fails if the instrumental has a different master, timing, edit, or mix. Even a small mismatch can leave artifacts. It isn't a magic fix for a random song from your library.
These methods are worth trying when you already have the matching instrumental. Otherwise, AI separation is usually the more useful test.
Step 8: Check Quality And Clear Your Rights
The final step is a listening check and a rights check. Play the instrumental through headphones first. Then test it on speakers, because artifacts can hide in one playback system.
Compare the processed file with the original at the same volume. Listen during the loudest chorus. Check the intro, quiet verse, and final fade too.
Ask yourself:
Is the vocal low enough for the task?
Did key instruments disappear?
Are there clicks, chirps, or echo trails?
Does the file stay in time with your vocal?
Can you legally use the source recording?
For private practice, the risk and workflow may be simple. Public uploads, paid releases, and commercial videos need more care. A vocal remover doesn't change ownership of the composition or master recording.
If you plan to release a new song over an instrumental, use a beat with clear license terms. Indepth Jay Beats works with independent rappers and singers who need beats for recording and release. Check the license before distribution, especially when you need commercial use, stems, or exclusive rights.
You can also review this guide to copyrighting a song before you release a track. It explains the difference between protecting your composition and protecting the sound recording.
Key Takeaway: Use a remover for a quick practice mix, but choose a properly licensed instrumental when the song is headed for release.
Frequently Asked Questions
How do I remove vocals from a song for free?
You can remove vocals for free by uploading a local audio file to VocalRemover.org. The service processes the song and gives you a music-only file plus an isolated vocal file. Free tools may limit track length, daily use, file size, or output quality, so test the result before using it in a project.
Can I remove vocals from a Spotify or Apple Music song?
You usually can't upload a Spotify or Apple Music stream directly because the track isn't a normal local audio file. Use an audio file you bought, downloaded lawfully, or recorded yourself. Subscription access alone doesn't give you a separate file for editing or public release.
What audio format should I use for vocal removal?
MP3 works for a fast test, while WAV is better for editing and mixing. Start with the highest-quality local file you have. Saving a processed MP3 as WAV won't restore detail that was already lost. Check the chosen service for its file-size and length limits before uploading.
Why does the instrumental still have bits of vocals?
Leftover vocals happen because source separation estimates blended sounds inside a finished mix. Reverb, backing vocals, doubled leads, and effects make the voice harder to isolate. Try another model or tool, reduce the worst frequency area in a DAW, or accept a small amount of bleed when the track is for practice.
Is removing vocals from a song legal?
Removing vocals for private practice doesn't give you ownership of the song. Public use can raise copyright issues because the composition and master recording may still belong to their owners. Get permission or use a properly licensed instrumental before releasing a new recording or posting the result commercially.
What is the cleanest way to get an instrumental?
The cleanest way is to use the original instrumental or buy a beat that was produced without vocals. AI tools can help when that file doesn't exist, but they may leave artifacts or remove parts of the music. For a release, a licensed instrumental from Indepth Jay Beats is often a simpler starting point.
Final Thoughts
Use a free online remover when you need a quick practice or karaoke file. If the track is headed for release, skip the repair work and start with a licensed instrumental. Browse the beats at Indepth Jay Beats, pick a sound that fits your song, then check the license before you record. Peace, Jason.

Get 20+ Free Beats delivered to your inbox
Drop your name and email and I'll send a pack to your inbox right away.
We respect your inbox, no spam. Promise!