Artist Development
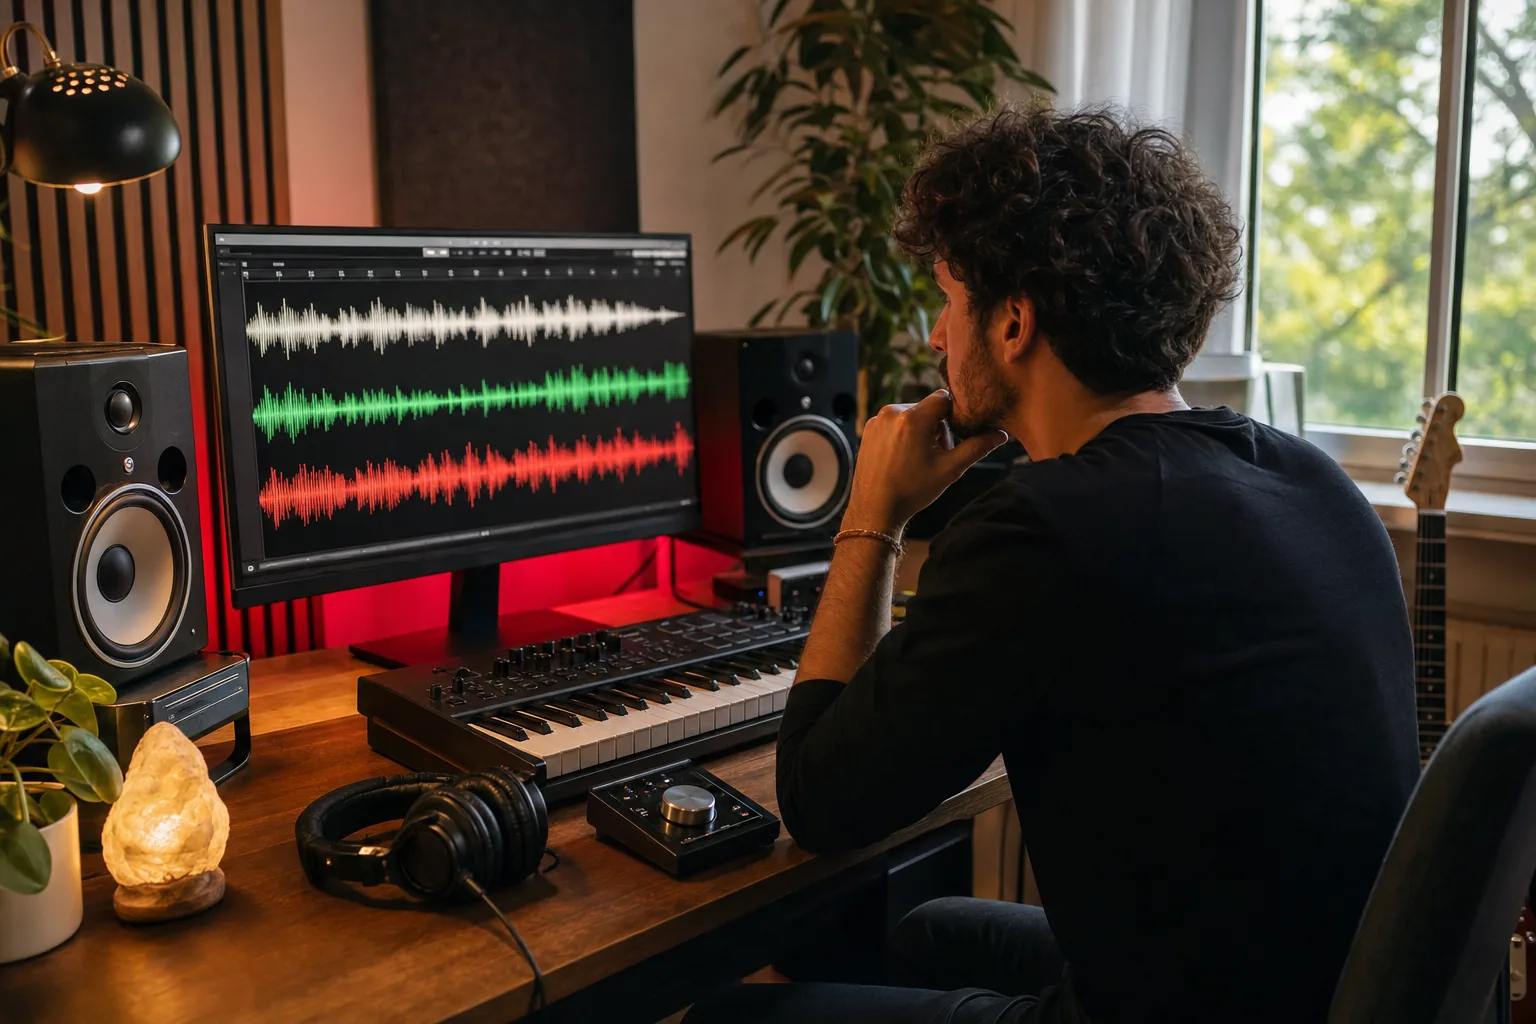
How to isolate vocals from a song comes down to choosing a good source file, running a separator, then listening closely to the result. I’ll walk you through the full process, including what to do when an acapella sounds watery or leaves bits of the beat behind. The key: separation rebuilds a vocal estimate, so even a strong tool can leave artifacts.
We analyzed 45 comments and questions from YouTube, Quora and Reddit about isolating vocals from songs and found that 20% mentioned software not functioning correctly.
Table of Contents
Step 1: Prepare the Song and Choose Your Goal
First, decide what you need the vocal for. Are you studying a vocal performance, making a private practice track, or planning to use a sample in a release? That choice affects how clean the file needs to be and whether you have permission to use it.
Get the best source file you can access. A WAV or FLAC usually gives a separator more audio detail than a compressed MP3. If you only have an MP3, use it for a first test. Avoid recording a song straight from speakers or uploading a streaming link. Start with a local audio file you have a right to edit.
The tool doesn’t uncover a hidden vocal track. It estimates which sound belongs to the singer, then rebuilds that part as a new file. That’s why isolating a vocal is harder than simply lowering it. A vocal can share its pitch range with guitar, piano, synths, or brass. Reverb and backing harmonies add more material for the software to sort through.
The basic idea behind phase cancellation is that matching sound waves can cancel when one is inverted and played with the other. That’s useful for a narrow DIY case, but it won’t cleanly pull a singer from every stereo mix.
Genre alone doesn’t decide the outcome. Listen for the arrangement. A dry solo voice over a simple backing may separate more cleanly than a layered hook over bright cymbals and wide synths. The densest chorus is usually a better test than a quiet intro.
If you’re deciding between removing a voice and saving it, the steps differ. Our guide to removing vocals from a song covers the music-only goal. For this task, keep the vocal stem selected.
Milestone: You’ve got a local source file and a clear use for the extracted vocal. If it’s for public release, check the rights before you build around it.
Step 2: Choose an AI Separator or Desktop Cleanup Tool
For a quick first pass, try an online AI separator. It’s usually the simplest route: upload a file, choose a vocal option, and audition the result. Desktop tools take more setup, but they can give you more room to edit problem spots after separation.
Use this table to match the workflow to your job. A free tier or free tool is handy for testing, but don’t treat the word “free” as a promise of a particular export format or quality.
Tool | Platform and method | Cost | Good fit | Watch for |
|---|---|---|---|---|
VocalRemover.org | Online, AI separation | Free tier available | A quick browser test | Listen for bleed before using the stem |
LALAL.AI | Online, AI deep-learning separation | See website | Separating common audio or video files | Its interface is geared toward separation, not detailed spectral repair |
Moises | Online, AI deep-learning separation | See website | Basic separation and export | Not built around detailed spectral editing |
Fadr | Online, center-aware AI separation | See website | Trying a center-aware vocal split | Artifacts can still remain |
Ultimate Vocal Remover | Desktop, AI models such as Demucs and MDX-Net | Free and open source | Testing different models on a computer | More settings and setup than a browser tool |
iZotope RX | Desktop, spectral editing and Music Rebalance | See website | Targeted cleanup after a first separation | It needs hands-on repair, not one-click isolation |
With Ultimate Vocal Remover, the model choice can change what you hear. Ultimate Vocal Remover offers VR, MDX-Net, and Demucs as different processing methods, plus an Ensemble option that combines models. Don’t assume one setting wins on every song. Run a short sample with a couple of choices, then compare the vocal during the same chorus.
For the old-school center-cancel approach, the method targets sound shared between the stereo channels. It can also reduce centered bass or drums, so use it as a test, not a guaranteed clean acapella method.
Milestone: Pick one online service for speed or a desktop tool if you plan to edit the output. Start with a short sample when the app supports it.
Step 3: Upload the Track and Run Vocal Separation
Once you’ve picked a tool, run the separation on a copy of your source file. Keep the original untouched. If the result needs another pass, you’ll want a clean source to return to.
Open the separator. Choose the option for vocal separation or vocal and instrumental stems. Some apps label the vocal file “acapella.”
Select your local file. Check the filename and confirm it’s the track you meant to process.
Choose the output you need. If the app lets you select vocals alone, choose that. If it returns both vocal and instrumental files, save both for comparison.
Run the job. Let processing finish before closing the page or app. Time can vary with the file and the tool.
Save the result in a new folder. Keep the original and the separated files together, with clear names such as songname_vocal_test1.
Don’t judge the stem from a tiny preview of the first verse. If the chorus has stacked vocals or a busy beat, that’s where the model has to make harder choices. If the tool offers a sample mode, process the hook first. It’s a quick way to hear whether the source is worth a full run.
For a basic two-stem split, compare the vocal with the instrumental file at the same point in the song. If the vocal sounds thin, that may be the model removing harmonics along with the beat. If a cymbal or synth note shows up in the vocal file, the model may have mistaken some of its energy for the singer.
Keep the first result. Don’t overwrite it when trying a second model or service. Give each version a name that tells you what changed, such as vocal_demucs or vocal_model2. That makes an A/B check simple when you’re back in your DAW.
Milestone: You should now have a vocal file, and ideally the matching instrumental, saved beside the original. Keep all versions until you’ve checked them.
Step 4: Audition the Vocal Stem and Check for Artifacts
Listen before you edit. Put on headphones and play the vocal stem at a steady level. Check the full track first, then listen to the loudest chorus again. A clean verse can hide problems that become obvious once the arrangement fills up.
Listen for these common issues:
Instrument bleed: You can hear part of a drum, guitar, synth, or cymbal in the vocal.
Watery or metallic tone: The voice has a swirly edge or sounds like it’s under water.
Chopped reverb: The tail after a word breaks off or sounds gated.
Missing vocal detail: A soft consonant, breath, harmony, or word ending has been cut away.
False vocal sound: A bright instrument becomes a strange syllable-like noise in the stem.
These flaws come from overlap. The singer and an instrument can share the same frequency area, while vocal reverb spreads beyond the word itself. Double-tracked vocals make the split tougher still. The model has to decide what to keep from one mixed file, so a little residue doesn’t mean the export failed.
Compare the vocal and instrumental at matching points. If the two files start at different times, line them up before judging the split. Otherwise, a timing offset can sound like a phase problem. If you combine the extracted vocal with a beat, check playback in stereo and mono. A reconstructed stem won’t necessarily cancel perfectly against the instrumental because the tool has estimated both parts.
Try another model or service if a short sample sounds rough. Change one thing at a time, then listen to the same bar at the same volume. Don’t stack multiple separation passes without checking between them. A second pass may reduce one artifact but blur the voice further.
If you hear AI-generated music in the source, remember that separating a stem doesn’t turn it into a human recording. The extracted audio still comes from that source. Treat the stem’s origin and any applicable usage terms as separate questions from how clean it sounds.
Milestone: You know where the stem works and where it breaks down. If the hook is unusable, try a different model before reaching for heavy processing.
Step 5: Clean Up the Vocal and Export It for Your Session
Bring the best version into your DAW and keep a raw copy on a separate track. That gives you a safe point to return to if a cleanup move makes the vocal dull or harsh.
Start with small edits. Trim silence at the start and end, then add short fades so the file doesn’t click. If only one word has a bad smear, edit that spot instead of processing the whole track. A tiny clip of instrumental bleed may sit fine in a mix, while a broad cut could make the singer sound unnatural.
Use EQ to soften a specific harsh or hollow area, not to erase the whole backing track. Sweep gently and bypass the EQ often. If you’re not sure what to change, leave it alone for a moment and compare the processed sound with the raw stem at the same loudness.
Noise reduction can help with a steady leftover sound, but heavy processing may add more watery artifacts. Spectral editing is useful when a problem is limited to a short moment or a narrow band. In iZotope RX, useful options include Music Rebalance and Spectral Repair. Those tools call for manual listening and adjustment rather than a single automatic vocal-isolation click.
Compression can even out the stem, but it won’t remove a cymbal that the separator placed in the vocal. Fix clear bleed first. Then add only enough compression to control peaks without making the artifacts jump forward.
Export WAV when you plan to edit, pitch-shift, or mix the stem. It keeps more audio information for later work. Choose MP3 when file size matters for a phone or quick rehearsal copy. If you need an MP3 for a music session, a high-bitrate setting such as 256 to 320 kbps is a sensible starting point. Don’t convert an MP3 source to WAV expecting it to regain detail that was already lost.
Label the export with the song name and version, then play it from the saved file. Check the first word and final fade. The file on your drive, not the preview player, is the one you’ll use next.
When you’re ready to mix vocals with a beat, our track stems guide explains how separate vocal and instrument files can give you more control in a session.
Milestone: You have a named export in the format your next session needs, plus an untouched version for backup.
Step 6: Use the Isolated Vocal in an Authorized Project
A clean stem and permission to use it are two different things. Pulling a vocal out of a released song doesn’t transfer ownership of that recording or the underlying song. If you plan to release a remix, cover, sample-based track, or monetized video, get the permissions that apply before you publish.
Copyright can give owners rights over protected works, including making and distributing copies. The details can depend on how you use the audio, so get legal advice for a specific release question.
Private practice and public distribution are different use cases. Rehearsing over an extracted vocal at home isn’t the same as uploading it in a monetized video or selling a new song that contains it. A platform may also detect audio from the original recording. Editing the file doesn’t guarantee that a claim won’t happen.
If you want a vocal for a record you can release, the cleaner route is to record your own performance over music you’re licensed to use. Indepth Jay Beats makes original hip-hop, trap, and boom-bap instrumentals for independent artists, with clear licensing and instant delivery. Check the license terms for the beat you choose and keep a copy with your session files.
If you’ve already got a vocal take, working with separate instrument files makes it easier to set levels without fighting a finished two-track mix. Our practice guide to stems for mixing rap vocals covers a workflow for organizing those parts in a session.

For AI-generated source music, don’t assume isolation changes the source’s origin or its usage terms. Keep a note of where the original track came from and review the terms that applied when it was made. The sound may be separated, but the permission question still needs its own answer.
Milestone: Before release, confirm you have permission for the recording and composition, or use a beat and vocal performance you’re cleared to release.
FAQ
Can I isolate vocals from a song for free?
Yes, some tools let you test vocal separation for free. VocalRemover.org offers a free tier, and Ultimate Vocal Remover is free and open source. Free access doesn’t guarantee a clean stem or a specific export. Test a short section first, then check the current service terms before using its output.
Why does my isolated vocal sound watery?
A watery sound usually means the separator removed or changed audio that overlaps with the voice. Instruments, reverb, backing vocals, and compression can make that split harder. Try a different model on the same short section. If the artifact only affects one phrase, edit that spot rather than processing the whole stem again.
Can I get a perfect acapella from a finished song?
Usually, no. A finished mix combines vocals with instruments and effects in one file, so a separator has to estimate the parts. The result may still contain backing sounds or lose some vocal detail. For a clean, fully isolated performance, ask for the original vocal stem from someone who has the session files and permission to share it.
Why do my vocal and instrumental stems sound out of phase?
First check that both files begin at the same point in the song. If one has shifted, the timing mismatch can cause a thin or hollow sound when you play them together. Even after alignment, AI-separated stems may not cancel perfectly because they’re reconstructed estimates. Compare them with the source and check the mix in mono.
Should I export the vocal as MP3 or WAV?
Choose WAV if you’ll edit or mix the vocal, since it avoids adding another round of lossy compression. Choose MP3 for a small rehearsal or sharing file. If the source was already an MP3, a WAV export won’t restore lost detail. Keep a copy of the first export before you make more edits.
Conclusion
Start with a strong local file, test a short section, and judge the loudest chorus before you commit to cleanup. If the stem is for a release, use audio you have permission to publish. For a new record, pick a licensed beat from Indepth Jay Beats and record your own vocal over it.

Get 20+ Free Beats delivered to your inbox
Drop your name and email and I'll send a pack to your inbox right away.
We respect your inbox, no spam. Promise!