
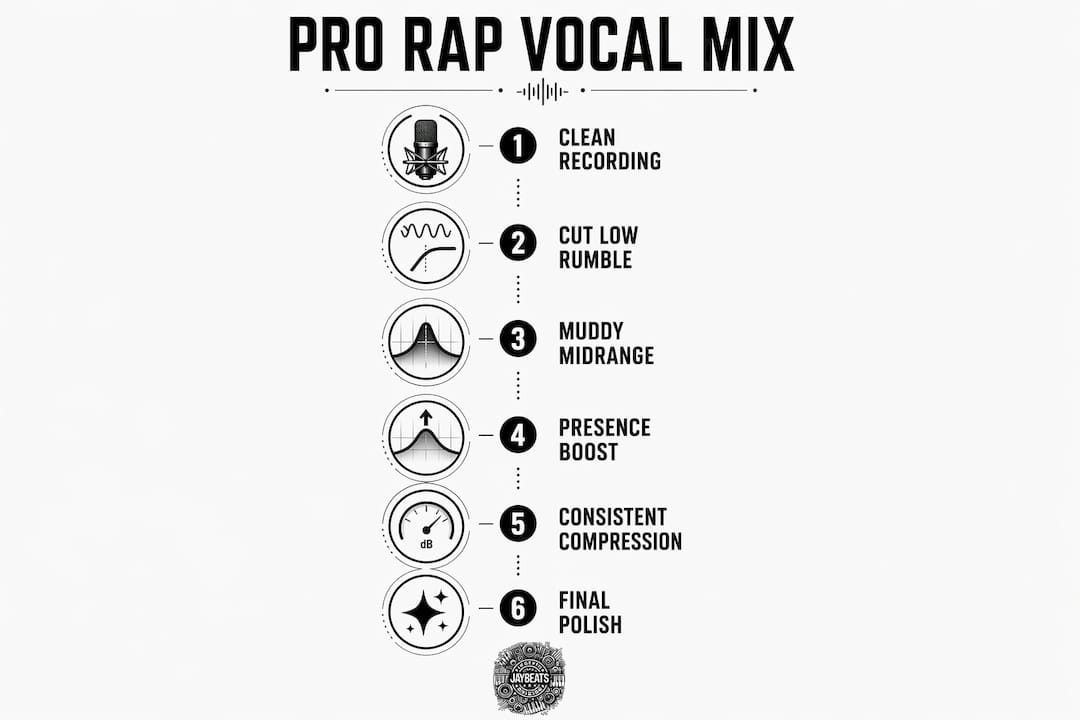
A professional rap sound is defined by three things: clean vocal recording, disciplined EQ and compression, and spatial effects that keep your voice upfront in the mix. Knowing how to make your rap song sound more professional means understanding that the gap between amateur and industry-level tracks is not about expensive gear. It is about technique. Tools like high-pass filters, multi-stage compressors, de-essers, and plate reverb are what separate a polished track from a muddy one. Your performance foundation matters just as much as your signal chain. Get both right, and your music will compete on any platform.
What foundational recording habits make your rap sound professional?
Professional vocal quality starts with performance technique. No amount of post-processing substitutes for a clean, controlled recording. If your raw take is shaky, your mix will fight you the entire way through.
Start with microphone distance. Consistent 4–6 inch distance from the mic keeps your tone even and prevents proximity effect from bloating the low end. Moving closer adds warmth but also adds mud. Moving too far back thins out your presence. Lock in your distance and stay there.

Your room matters more than your mic model. Hard walls create flutter echo that no EQ can fully fix. Hang moving blankets, use a reflection filter, or record inside a closet lined with clothes. The goal is a dead, controlled space where your voice is the only thing the mic hears.
Here are the foundational habits that set your recordings apart:
Commit to clean takes. Record until the performance is right. Do not rely on pitch correction to fix a lazy delivery.
Layer your vocals. Doubling vocals with slight pan offsets thickens your sound without muddying the center image.
Control your breath. Breathe away from the mic or edit out breath noise in post. Loud breaths distract listeners.
Pop filter always. A pop filter stops plosive sounds (the hard “p” and “b” sounds) from clipping your recording.
Pro Tip: Record three takes of every verse. Use the best one as your lead, then blend the other two as doubles panned left and right at around 30–40%. That width is what makes independent releases sound like they came out of a real studio.
How to use EQ to create clarity in your rap vocals
EQ is the single most powerful tool for making rap tracks sound polished. The process has two stages: cut what hurts, then boost what helps.
Start with a high-pass filter. Standard rap vocals need cuts below 80–100 Hz, while trap vocals often require cuts up to 110–130 Hz. That low rumble competes directly with your 808s and kicks. Removing it gives the beat room to breathe and keeps your vocal sitting on top of the mix rather than fighting inside it.
Next, address the muddy midrange. Gentle cuts in the 200–400 Hz range remove the boxy, phone-call quality that makes vocals sound cheap. Cuts around 800–1,000 Hz reduce honkiness. These are subtractive moves, so go easy. A 2–3 dB cut is often all you need.
EQ Range | Action | Purpose |
|---|---|---|
80–130 Hz | High-pass filter cut | Removes low rumble, clears space for 808s |
200–400 Hz | Gentle cut (2–3 dB) | Reduces muddiness and boxiness |
800–1,000 Hz | Narrow cut (1–2 dB) | Removes honky, nasal tone |
2–5 kHz | Boost (2–4 dB) | Adds intelligibility and presence |
10–16 kHz | High shelf boost (2–3 dB) | Adds air and brightness |
Additive EQ is where your vocal starts to shine. Boosting 2–4 dB at 2–5 kHz pushes your words forward so every syllable cuts through the beat. A 2–3 dB high shelf from 10–16 kHz adds the airy, open quality you hear on major-label records. Do not boost both at full strength at the same time. Push one, check it, then decide if the other is needed.
Pro Tip: Use a spectrum analyzer like FabFilter Pro-Q 3 or iZotope Neutron while you EQ. Watching the frequency content in real time stops you from guessing and helps you find problem areas faster.
What compression settings help achieve consistent rap vocals?
Compression controls the dynamic range of your vocal. Without it, your loud lines overpower the beat and your quiet lines disappear. With it, every word hits with the same energy.
Compression ratios range from 4:1 for controlled rap delivery to 10:1 for aggressive trap vocals. A 4:1 ratio gives you control while keeping the vocal sounding natural. A 10:1 ratio is more aggressive and works well for hard trap where you want that tight, punchy energy. Target gain reduction of 4–8 dB on your main compressor. That range keeps things consistent without squashing the life out of your performance.
Attack and release times shape how the compressor responds to your voice. Attack times between 3–15 ms and release times between 40–200 ms balance punch and smoothness. A fast attack (3–5 ms) clamps down on transients quickly. A slower attack (10–15 ms) lets the initial consonant punch through before the compressor kicks in. Test both and listen for which one keeps your delivery feeling alive.
Multi-stage compression is the move that separates good mixes from great ones. Engineers use a fast FET compressor followed by a slower optical compressor to handle transients first, then smooth out the overall level. Each compressor does modest work. The result is a vocal that sounds controlled but never robotic.
Stage 1 (FET compressor): Fast attack, moderate ratio (4:1 to 6:1), 3–5 dB gain reduction. Tames peaks.
Stage 2 (Optical compressor): Slower attack, lower ratio (2:1 to 3:1), 2–4 dB gain reduction. Smooths overall level.
Parallel compression: Blend a heavily compressed version of the vocal underneath the main signal. This adds density and thickness without killing dynamics.
Pro Tip: Parallel compression is your secret weapon for trap vocals. Send your vocal to a bus, crush it with an 8:1 ratio and fast attack, then blend it back in at around 20–30% underneath your main vocal. You get the density without losing the punch.
How to apply saturation, de-essing, and reverb for a polished sound
These three tools add the finishing layer that turns a clean mix into a professional one. Each one requires a light touch.
Saturation adds harmonic richness that makes digital recordings feel warm and alive. Subtle saturation at 10–20% wet adds that analog character without distorting your vocal. Multiband saturation or parallel blending keeps the effect controlled. Push it too hard and you get distortion. Keep it subtle and your vocal gains a texture that listeners feel even if they cannot name it.
De-essing targets the harsh, hissing frequencies that compression and EQ boosts create. De-essers targeting 5–8 kHz tame sibilance without dulling the vocal. Set your threshold conservatively. If the de-esser is working constantly, it will make your “s” sounds lispy and unnatural. It should only catch the worst offenders.
Spatial effects place your vocal in a three-dimensional space. Here is how to use them without pushing your voice back in the mix:
Plate reverb: Use a decay time of 0.6–1.2 seconds. Plate reverb has a bright, smooth character that works well on rap vocals without sounding washy.
Slap delay: Set delay time to 80–120 ms. Slap delay adds depth and a classic hip-hop feel without creating an echo that clutters the mix.
Wet/dry balance: Keep your reverb and delay sends at 15–30% wet. Your vocal should always feel dry and upfront, with the effects adding space behind it.
How to troubleshoot common mixing mistakes and finalize your mix
Most amateur rap mixes fail at the same points. Knowing where to look saves you hours of frustration.
Check your gain staging first. Signals should stay below 0 dBFS at every stage of the chain. Clipping before your plugins means every plugin downstream is processing a distorted signal. Keep your input levels conservative and let your plugins do their job cleanly.
Balance your vocal against the beat. Vocals sit 1–3 dB above the loudest beat element in professional mixes. If your vocal is buried, raise it. If it is floating disconnected from the beat, pull it back slightly and check your EQ cuts.
Avoid over-compression. Over-compression causes unnatural vocal sounds and kills the dynamic energy that makes a rap performance feel real. If your vocal sounds flat and lifeless, reduce your gain reduction and open up your attack time.
Reference professional tracks. Pull up a track by Kendrick Lamar, Drake, or J. Cole in your DAW and A/B compare your mix against theirs. Listen for where your vocal sits in the frequency spectrum and how much space the beat takes up. Your ears calibrate fast when you have a real target.
“Your mix is never done in isolation. Reference tracks are your compass. Use them every session.”
Key takeaways
A professional rap mix requires clean recording, disciplined EQ and compression, and subtle spatial effects working together to create clarity, presence, and consistent energy.
Point | Details |
|---|---|
Start with clean recording | Consistent mic distance and room treatment set the foundation before any mixing begins. |
EQ in two stages | Cut low rumble and mud first, then boost presence at 2–5 kHz and air at 10–16 kHz. |
Compress in multiple stages | Use a fast FET compressor followed by a slower optical compressor for natural, controlled dynamics. |
Use saturation and effects lightly | Keep saturation at 10–20% wet and reverb/delay sends at 15–30% to add warmth without losing clarity. |
Reference professional tracks | A/B your mix against major-label releases to calibrate your ears and catch balance issues fast. |
What I have learned after 20 years of producing rap music
The biggest mistake I see independent artists make is chasing gear instead of chasing skill. I have been producing since 2004, and the artists who grew the fastest were not the ones with the most expensive microphones. They were the ones who committed to understanding their signal chain and kept recording until the performance was undeniable.
Small EQ and compression tweaks genuinely transform a mix. I have taken vocals that sounded like they were recorded in a bathroom and turned them into something competitive just by cleaning up the low end and dialing in a two-stage compression chain. The tools are not magic. The discipline behind using them is.
Performance is where it all starts, though. No plugin fixes a lazy take. The artists who push through 10 or 15 takes to get the one that feels right are the ones whose music connects. Technical skill and creative commitment are not separate things. They build on each other.
Your sound will develop over time. Test new techniques, keep notes on what works, and do not be afraid to scrap a mix and start over. That iteration is how you build a signature sound that is yours alone.
— Indepthjaybeats
Take your rap production further with Indepthjaybeats
Your mixing skills will only take you as far as the beat underneath your vocals. If the production is not built for professional placement, the mix will always feel like it is fighting itself.

Indepthjaybeats has been crafting hard-hitting trap beats and professional boom bap beats since 2004, with placements in WWE 2K25 and Love And Hip Hop Atlanta. Every beat is built to sit well in a mix, with clean low end and space for your vocals to cut through. If you want your vocals to sit on a production that is already engineered for clarity, that is the starting point. Indepthjaybeats also offers online mixing and mastering designed specifically for rappers who want industry-level results without a major-label budget. Grab a free beat pack and hear the difference for yourself.
FAQ
What is the best EQ setting for rap vocals?
Cut below 80–100 Hz with a high-pass filter to remove low rumble, then boost 2–4 dB at 2–5 kHz for presence and add a 2–3 dB high shelf at 10–16 kHz for air. These moves create clarity and intelligibility without harshness.
What compression ratio should I use for rap vocals?
Use a 4:1 ratio for controlled rap delivery and up to 10:1 for aggressive trap vocals, targeting 4–8 dB of gain reduction. Pair a fast FET compressor with a slower optical compressor for the most natural result.
How do I stop my rap vocals from sounding muddy?
Apply gentle cuts of 2–3 dB in the 200–400 Hz range to remove boxiness, and cut around 800–1,000 Hz to reduce honkiness. A high-pass filter at 80–130 Hz also clears the low end so your vocals stop competing with the 808 and kick drum.
How loud should rap vocals be in the mix?
Rap vocals should sit 1–3 dB above the loudest element in the beat. That balance keeps your voice present and clear without sounding disconnected from the production underneath it.
Does expensive gear make rap vocals sound more professional?
Expensive gear does not guarantee a professional sound. Disciplined EQ and compression practices have a greater impact on vocal quality than the price of your microphone or interface.