
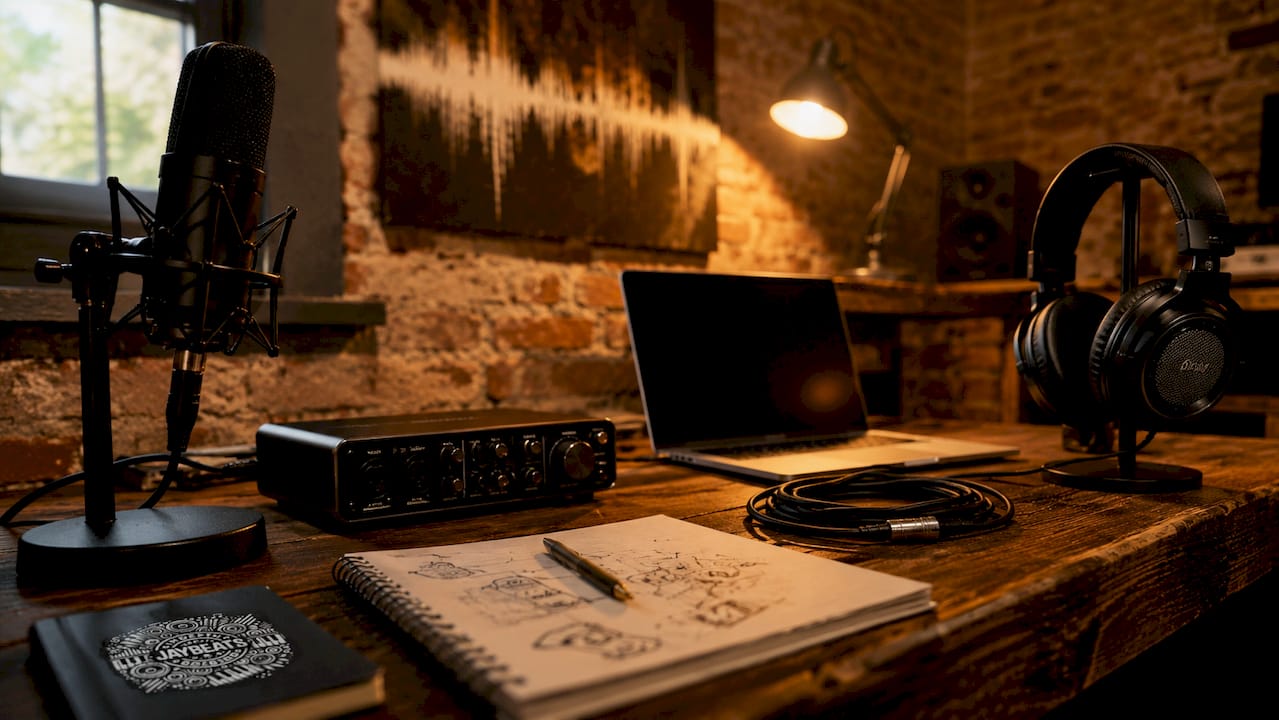
A home studio for rappers is defined as a dedicated recording space equipped with an audio interface, microphone, headphones, DAW software, and basic acoustic treatment. You can build a fully functional setup for $300 to $500 and start recording professional-quality rap vocals from your bedroom, closet, or spare room. The key is knowing what to buy first and what to skip until your budget grows. This guide breaks down every piece of essential gear for rap artists, how to treat your space affordably, and how to set everything up without wasting money on the wrong stuff.
What essential equipment do you need for a budget home rap studio?
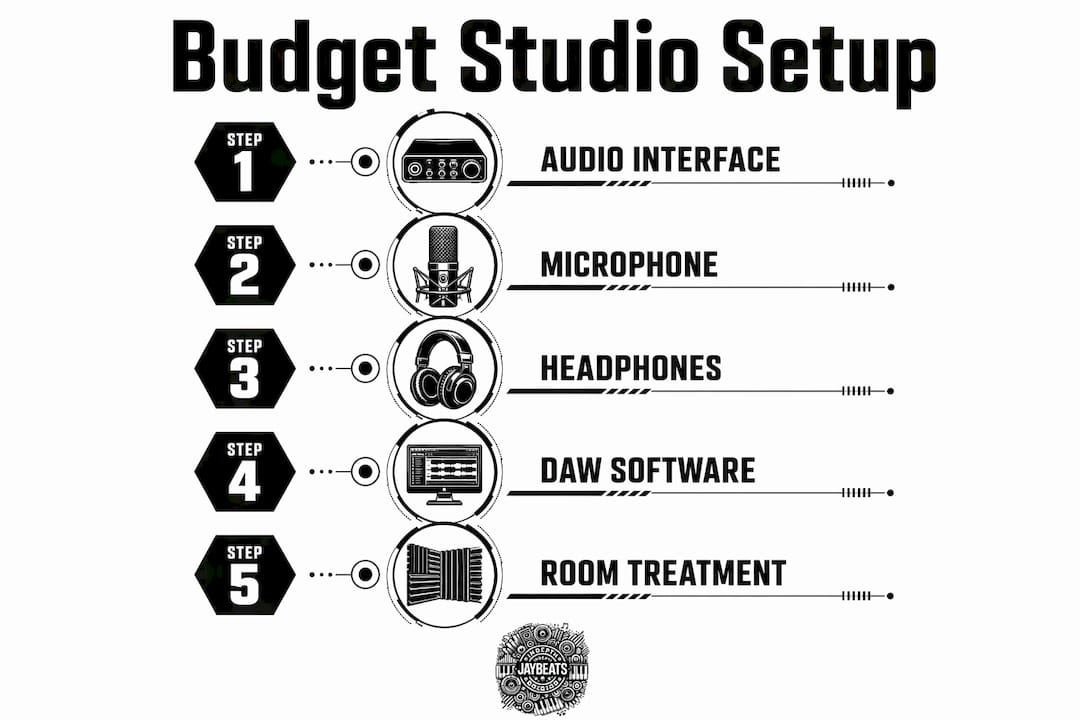
The core of any affordable home studio setup is four things: an audio interface, a microphone, headphones, and a DAW. Get those right, and you have everything you need to record, mix, and release music.
Audio interface
The audio interface converts your microphone signal into digital audio your computer can process. Without it, your vocals sound like a phone call. Entry-level interfaces like the Focusrite Scarlett Solo run around $119 and work out of the box without driver headaches. That matters more than you think. Spending 45 minutes troubleshooting drivers before every session kills your creative momentum fast.
Microphone choices for rap vocals
For rap vocals on a budget, you have two real options: dynamic microphones and condenser microphones. Dynamic mics like the Shure SM7B handle loud, punchy delivery and reject room noise naturally. Condenser mics like the Audio-Technica AT2020 (around $99) capture more detail and air, which works great for melodic rap and trap styles. In an untreated room, a dynamic mic is often the smarter pick because it picks up less of the room’s echo and reverb.
Headphones vs. studio monitors
Skip the studio monitors until your room is treated. Mixing on closed-back headphones gives you a more accurate picture of your sound in an untreated space than any monitor speaker will. The Audio-Technica ATH-M40x headphones cost around $99 and deliver flat, honest frequency response. That means what you hear is close to what your listeners will hear on their earbuds and speakers.
DAW software
Your DAW (Digital Audio Workstation) is where you record, edit, and mix everything. Free and low-cost DAWs like GarageBand (free for Mac), Reaper ($60), and Ableton Live Lite cover everything a beginner needs. Many audio interfaces come bundled with a lite version of a DAW, so check what’s included before you buy software separately.
Accessories you cannot skip
XLR cable (at least 10 feet)
Mic stand or boom arm
Pop filter to reduce plosive sounds (“p” and “b” sounds that distort recordings)
Shock mount if your mic does not include one
Pro Tip: Buy one quality XLR cable instead of two cheap ones. A bad cable introduces noise and hum that no plugin can fix later.
Gear | Budget Option | Approx. Cost |
|---|---|---|
Audio interface | Focusrite Scarlett Solo | $119 |
Microphone | Audio-Technica AT2020 | $99 |
Headphones | Audio-Technica ATH-M40x | $99 |
DAW software | Reaper | $60 |
Accessories | Cables, stand, pop filter | $30–$50 |
A complete budget setup like this lands between $300 and $500. That is all you need to start recording music that sounds real.
How to choose and prepare your recording space affordably
Your room is the most underrated piece of gear in your studio. A bad room makes a $500 microphone sound worse than a $100 mic in a treated space.
Room selection tips
Pick the smallest room available. Smaller rooms have fewer low-frequency problems and are cheaper to treat. Closets packed with clothes are naturally good recording spaces because fabric absorbs sound. Avoid rooms with parallel walls and hard floors if you can. Carpet, bookshelves, and furniture all help break up sound reflections before you spend a dollar on treatment.
DIY acoustic treatment basics
Acoustic treatment and soundproofing are not the same thing. Soundproofing stops sound from leaving the room. Acoustic treatment controls how sound behaves inside the room. For a home studio, treatment is what you actually need first.
Bass traps: Place these in corners where low frequencies build up. DIY versions use Owens Corning 703 or 705 rigid fiberglass wrapped in acoustically transparent fabric.
First reflection panels: Mount panels on the side walls at the point where sound bounces from your speakers (or mic) to your ears. These reduce flutter echo and muddiness.
Ceiling cloud: A panel mounted above your recording position reduces vertical reflections that smear vocal clarity.
DIY acoustic panels built with Owens Corning 703 rigid fiberglass perform close to commercial panels at a fraction of the price. You can treat your room’s most critical reflection points for $150 to $200. That investment pays off more than any microphone upgrade.
Pro Tip: Record vocals inside a closet full of hanging clothes if you have not treated your room yet. The fabric absorbs high-frequency reflections and gives you a surprisingly clean, dry vocal sound.
Even $150 in DIY corner treatment makes a measurable difference in your final recordings. Treat the room before you upgrade any gear.
Step-by-step guide to setting up your home studio for rap vocals and beat making
Setting up your studio in the right order saves you time and frustration. Follow these steps and you will be recording the same day.
Set up your computer first. Your machine needs at least 16GB of RAM, SSD storage, and a multi-core processor like an Intel i7 or Apple M-series chip. These specs keep your DAW running smooth without lag or crashes mid-session.
Install your DAW. Download and activate your DAW before you plug in any hardware. Run it once to confirm it opens clean. If you are on a Mac, GarageBand is already there. If you want to mix rap vocals in GarageBand, it handles the basics well for free.
Connect your audio interface. Plug the interface into your computer via USB. Install any required drivers. Open your DAW and set the interface as the default audio input and output device. Test it by clapping near the mic input and watching the level meter respond.
Set up your microphone. Mount the mic on a stand, attach the pop filter about two to three inches in front of the capsule, and run your XLR cable from the mic to the interface. Set your gain so your loudest rap line hits around -12dB to -6dB on the input meter. Peaking above 0dB causes clipping, which ruins the take.
Position yourself correctly. Stand or sit about six to eight inches from the mic. Rap slightly off-axis (angled a few degrees to the side) to reduce plosives even further. Keep the mic at mouth height, not above or below.
Monitor with headphones. Plug your closed-back headphones into the interface’s headphone output. Set a comfortable monitoring level. You want to hear yourself clearly without the volume so loud it bleeds into the mic.
Organize your cables and workspace. Route cables away from power strips and laptop chargers. Electrical interference from power sources introduces hum into your recordings. A clean workspace also keeps your head clear when you are in creative mode.
Pro Tip: Record a 30-second test vocal and listen back before you commit to a full session. Catch gain issues, hum, or room problems early so you are not fixing them after you recorded 20 takes.
How to upgrade your home studio smartly without wasting money
The biggest mistake rappers make is buying new gear before fixing their room. A $400 condenser microphone in an untreated room sounds worse than a $99 dynamic mic in a treated closet. Gear does not fix acoustics.
Berklee College of Music experts point out that professional results come from understanding your gear’s limitations and working within them. That mindset separates artists who grow from artists who stay stuck waiting for the “right” setup.
Here is how to prioritize upgrades when you have extra budget:
Treat the room first. Always. No exceptions. Add bass traps and reflection panels before anything else.
Upgrade your headphones before your mic. Better monitoring leads to better mixing decisions, which makes your current mic sound better.
Add a MIDI controller when you are ready to produce your own beats. A basic 25-key controller opens up your production workflow without a huge investment.
Invest in plugins and samples before buying outboard gear. A good reverb plugin or vocal chain preset costs less than a hardware unit and takes up zero desk space.
Buy one thing at a time. Stacking purchases before you understand your current setup wastes money. Use what you have until you hit a specific, identifiable limitation.
Stability in your workflow matters as much as gear quality. Choosing interfaces that work reliably from day one keeps you focused on music instead of tech problems. Every hour you spend troubleshooting is an hour you did not spend recording.
Key Takeaways
Building a home studio for rappers on a budget works when you prioritize room treatment, reliable gear, and workflow stability over expensive upgrades.
Point | Details |
|---|---|
Start with four core items | Audio interface, microphone, headphones, and a DAW cover everything you need to record. |
Treat the room before upgrading gear | DIY acoustic panels for $150–$200 improve sound more than any microphone upgrade. |
Use headphones in untreated rooms | Closed-back headphones give more accurate monitoring than studio monitors in bare spaces. |
Follow a setup sequence | Install software first, then connect hardware, and test before recording full sessions. |
Upgrade one item at a time | Identify your actual limitation before spending money on new gear. |
What I have learned building studios on a shoestring
Real talk: I have been producing since 2004, and the best recordings I ever made in the early days came out of a walk-in closet with a $100 mic and a blanket over my head. No joke. The room was the secret, not the gear.
Artists come to me all the time saying they need a better mic, a better interface, a better everything. Nine times out of ten, their room is the problem. You can hear it in the recordings. The sound is washy, the low end is muddy, and the vocals sit on top of the mix instead of inside it. Fix the room and suddenly that “bad” mic sounds like a professional tool.
The other thing I tell every rapper starting out: stop waiting for perfect. The artists who build careers are the ones who record now, learn from every session, and keep pushing. Gear obsession is procrastination dressed up as preparation. Your first 100 recordings will teach you more than any gear purchase ever will. Grab some practice beats and start logging those sessions today.
— Indepthjaybeats
Quality beats to match your new setup
You built the studio. Now you need the right music to record over.

Indepthjaybeats has been crafting trap and boom bap beats since 2004, with placements in productions like WWE 2K25 and Love And Hip Hop Atlanta. The catalog covers hard trap, melodic rap, and classic boom bap, all built for artists who take their craft seriously. Whether you need hard trap beats for your next single or a boom bap instrumental to showcase your lyrical skill, the library has you covered. Indepthjaybeats also offers professional mixing and mastering services built specifically for rappers recording from home studios, so your vocals sit right in the mix every time.
FAQ
What is the minimum budget for a home rap studio?
A functional home rap studio costs between $300 and $500, covering an audio interface, microphone, headphones, DAW software, and basic accessories.
What are the best microphones for rappers on a budget?
The Audio-Technica AT2020 (condenser, around $99) and the Shure SM7B (dynamic) are both strong choices. In untreated rooms, a dynamic mic reduces unwanted room noise.
Do I need to soundproof my room to record rap vocals?
Soundproofing and acoustic treatment are different. You need acoustic treatment (panels and bass traps) to improve sound quality. Full soundproofing is expensive and not required for most home setups.
Can I mix rap vocals without studio monitors?
Yes. Closed-back headphones like the Audio-Technica ATH-M40x deliver more accurate monitoring than studio monitors in untreated rooms, making them the better choice for home studios.
What DAW should a beginner rapper use?
GarageBand is free for Mac users and covers all basic recording and mixing needs. Reaper costs $60 and works on both Mac and Windows, making it the top budget pick for cross-platform artists.